Login to the Supply Chain Portal

The purpose of the Supply Chain Portal is to exchange order-related messages between the Supplier and bol efficiently and easily. The carrier can use the portal to make a time slot booking.

Supply Chain Portal

Each portal user is given its own login account to the Supply Chain Portal.
You will initially receive an e-mail from the portal administrator via no_reply@Supplierportal.bol.com with the login details for your portal account.

Activate account

When you login to the portal for the first time, the account must be activated. Activation of the account is accomplished with the activation link in the initial e-mail from the portal. This is the e-mail that also provides you with the password. Please consult the Supplier Service if you have not received the e-mail with the activation link. One possibility is that the e-mail is blocked by your spam filter.

Forgot your password?

If you forgot your password choose the ‘Forgot your password?’ link in the login window.

  1. Enter your user name there (usually your e-mail address)
  2. Answer the secret password question
  3. You will receive a new password via e-mail if you answer the question correctly

Consult the Supplier Service if you do not know your user name or cannot answer the secret question.

Receipt of order

You will receive all orders from bol in the portal. More information about orders can be found here. To process the order, the following steps should be completed:

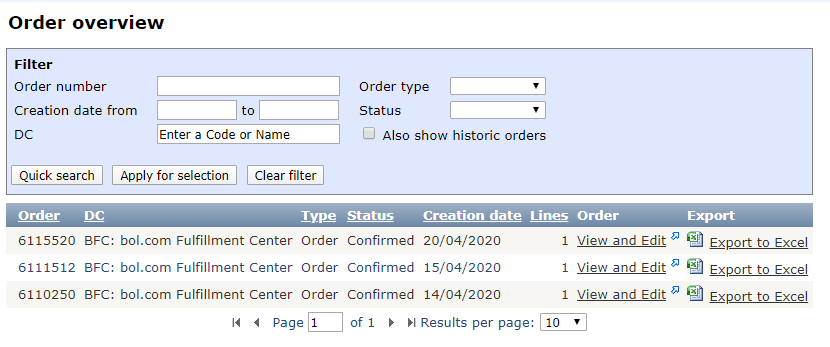
1. Receipt of order by e-mail

After receiving the e-mail that there is a new order in the Supply Chain Portal, you should check that all articles from the order can be delivered and whether the delivery date is feasible. Should this not be the case, put the articles in question on backorder or cancel them.

2. Confirmation of order

Then you confirm the order. Each order must be confirmed within 1 business day.

3. Modification of order

If, after confirming the order, it appears that an article is not available on time or is no longer available, indicate this in the order by placing the article in backorder or cancelling it.
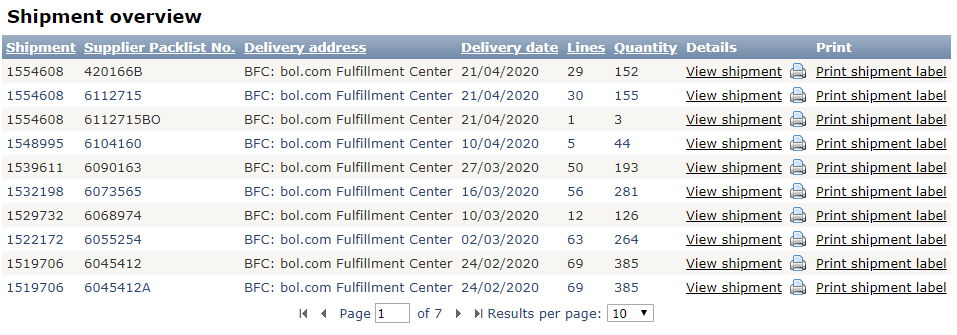
4. Create pre-alert

When the articles for the order are ready to ship and you have the number of the physical packing slip, you create a shipment (a digital pre-notification) in the portal. This must be created before the physical shipment arrives at our warehouse. The articles listed in the shipment should correspond exactly to the contents of the physical shipment.

5. Print label

Please attach the shipping label with SSCC code from the portal to the pallets/colli, otherwise use a standard format shipping label that bol’s logistics department can provide upon request.

6. Create slotbooking

Have the carrier book a time slot so that we know exactly what time the shipment will be delivered to our warehouse. Can your carrier not do this yet because they do not have an account yet? Then they can contact the Supplier Service themselves.
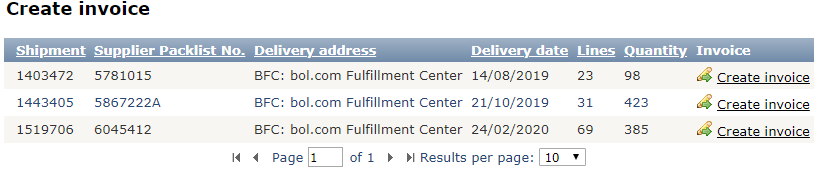
7. Create invoice

You create an invoice for each shipment in the Supply Chain Portal; you do not need to send the invoice by any other means.

Each order in the portal has one of the following statuses:

  • New, An order with the status ‘New’ has recently been placed in the portal and is still being processed by the Buyer. The Buyer will eventually release it. You can find an order with ‘New’ status in the list ‘Order overview’ and you cannot edited it as yet.
  • SupplCnfrm, An order with the status ‘SupplCnfrm’ is presented for confirmation as the ‘Supplier’. This can be a new order or an order that has been edited by the Buyer. A response is expected. You can find an order with the status ‘SupplCnfrm’ in the list ‘Orders to confirm’ and in the list ‘Order Overview’.
  • BuyerCnfrm, An order in BuyerCnfrm status is presented to the Buyer for confirmation. These are orders that you have changed and confirmation from the Buyer is expected. You can only view an order in BuyerCnfrm status, you cannot edit it. This confirmation occurs automatically. This means that you will see the edit confirmed quickly by the Buyer.
  • Confirmed, Once an order is accepted by you and the Buyer, the order has ‘Confirmed’ status. This order can be found in ‘Order Overview’ and is ready to be placed in a shipment. An order in ‘Confirmed’ status can still be edited. To do this, select the ‘Edit PO’ button and return the order to the ‘SupplCnfrm’ status.
  • Ok, Once no more lines in the order can be edited, the order is moved to the status ‘Ok’. The order is then historically only retrievable through the ‘Order History’.

By choosing ‘Shipment overview’ you get an overview of previously created shipments.

For each shipment, the following information is shown for each column:

  • Shipment: The number of the shipment portal
  • Supplier Packlist No.: The reference you entered for shipment
  • Delivery address: The warehouse where the shipment is to be delivered
  • Delivery Date: Date of shipment delivery
  • Lines: The number of lines in the shipment
  • Quantity: The number of items in the shipment
  • Details: ‘View shipment’ shows the detailed information about the shipment
  • Print: ‘Print shipment label’ gives the option to print the label

After choosing ‘Create invoice’ from the menu you will see the following screen.

This screen shows the shipments for which an invoice has not been created before. For the next step, you choose one of the shipments and click the ‘Create invoice’ link at the end of each line.
You can find invoices that have already been submitted in ‘Invoice overview’.