1. Go to the correct website and log in
Go to the Supply Chain portal (SCP).
Log in with your credentials.
2. Create shipment
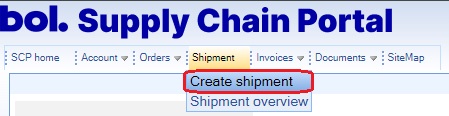
Go to: Shipment – Create shipment
3. Step 1: Select delivery date
Select the correct delivery date and the delivery address where the shipment should be delivered.
For an overview of all adresses, you can refer to this page.

4. Step 2: Select order lines to ship - select the products
In this step you can indicate which products are in the order. You can search by EAN or by order number. The steps below can be repeated several times, allowing you to add products from different orders to a pre-announcement. First search for one order and go through all Step 2 instructions, then repeat the proces if you want to add products from multiple orders.
Note: The products displayed in this step are those that need to be sent to the warehouse selected in step 1.
By clicking the checkbox next to the quantities, products are selected. It is possible to select multiple products at once.

5. Step 2: Select order lines to ship - select the amount of products
By selecting a product, the filed with the product quantity becomes editable. Adjust this, if necessary, to reflect quantities that will be delivered.
If multiple products were selected in the previous step, you can now specifiy the quantities for each of these products.

6. Step 2: Select order lines to ship - Add selected lines to shipment
Once the correct quantity is selected, click on Add selected lines to shipment. The products will be added to the pre-announcement.
If you want to pre-announce products from multiple orders, you can now search for a different order number and repeat the same actions. Once all products have been added, click Next.

7. Step 3: Shipment information
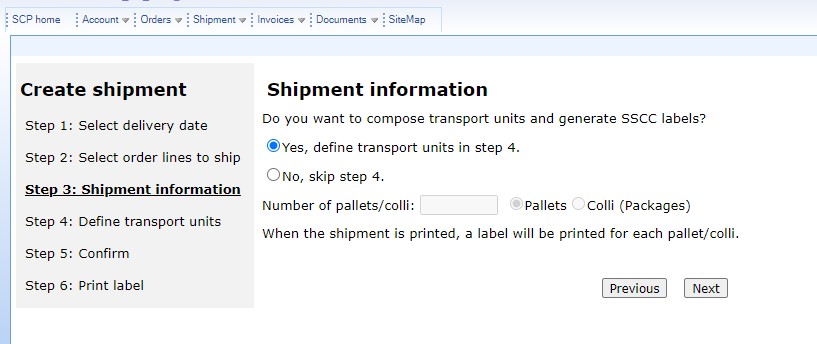
In step 3 you indicate wheter the shipment will be sent with SSCC labels and if these labels should be generated by the Supply Chain portal (SC). Choose one of the following options:
Yes, define transport units in step 4.
Select this option if you want to send the shipment with SSCC labels and have them generated by the SCP.
No, skip step 4.
Choose this option if you have your own SSCC labels or if the shipment will be sent without SSCC labels. In this case you only need to specify the number of pallets or parcels in the shipment.
8. Step 4: Define transport units - By hand or through the Supply Chain portal
Note: This step is automatically skipped if you select the option No, skip step 4 in step 3. In that case proceed to Step 5 below.
Transport units can be manually created through the Supply Chain portal (SCP), or you can choose to upload an Excel file to provide the transport units and SSCC information.
If you want to create the transport units directly through the SCP, you can follow the steps outlined below.
If you prefer to work with an Excel file, click on Upload file. Instructions on how the Excel file works are provided in this page.

9. Stap 4: Define transport units - select products
In this step you specify the contents for each pallet or parcel, allowing the SSCC labels to be generated.
Select the checkbox next to the products you want to place on the corresponding load carrier. Adjust the quanity per product if necessary. Then click add selected item(s).

10. Step 4: Define transport units - select the transport unit
Provide the internal reference for the transport unit. This can be pallet 1, pallet 2, pallet 3, etc. or can simply be 1, 2, 3, etc. Click Save Unit once that is done.

11. Step 4: Define transport units - all products on a transport unit
Repeat the steps above until all products are placed on a transport unit and go to the next step.

12. Step 5: Confirm shipment
In this step you provide the packinglist ID, which must always be a unique number. Optionally you can also enter a license plate, but this is only optional.
Review the shipment details to ensure everything is correct, then click Complete shipment.

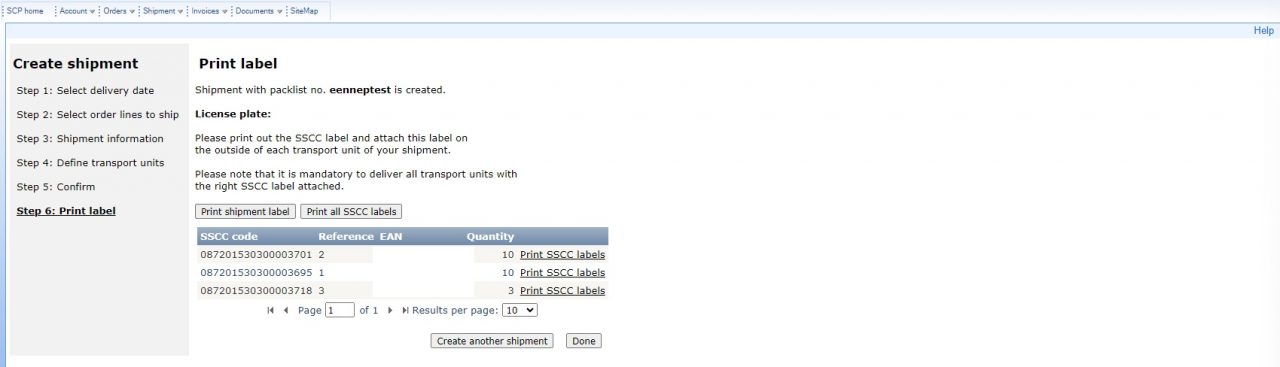
13. Step 6: Print label
In this screen you can choose to print all labels. These labels can also be printed on a later moment from the shipment itself.
If you are finished, that’s great! Otherwise you can select the option Create another shipment to start the process over again.