1. Go to your offer and select the article whose image you want to change
In the Supplier Portal, click on ‘Articles’ at the top and then choose ‘My Articles’. Select the article whose images you want to add and/or change. Then click on ‘Edit product information’ or on the right side on ‘View article’.
2. Add images
Does the article not have images yet? You can add these under ‘Upload images’.
2.1 Add images from your own file/folder:
Click on ‘Upload your images’ and choose the images from your own file.
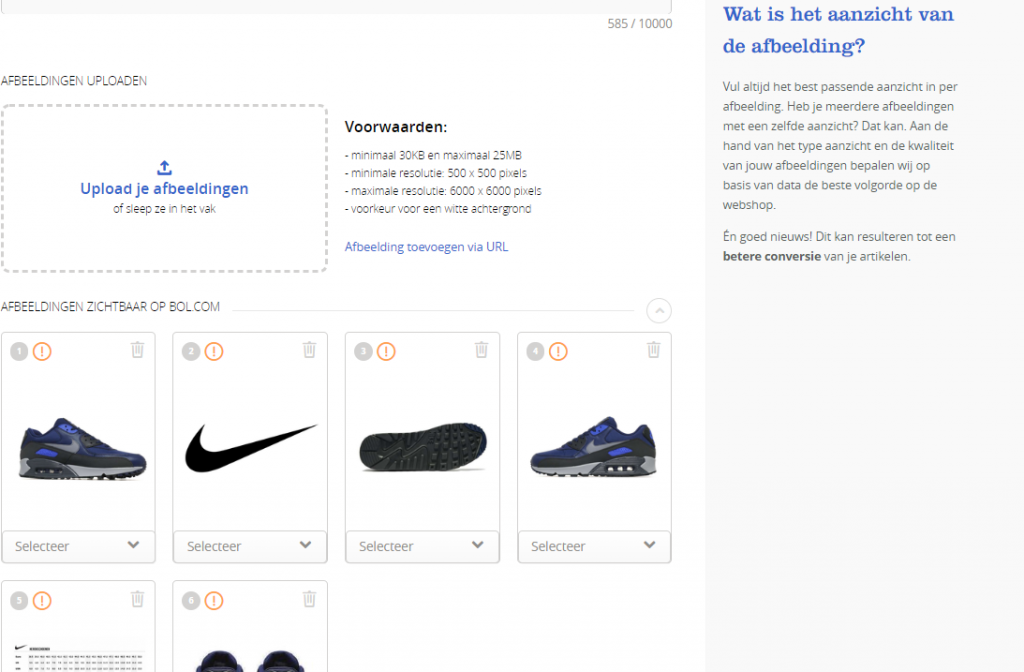
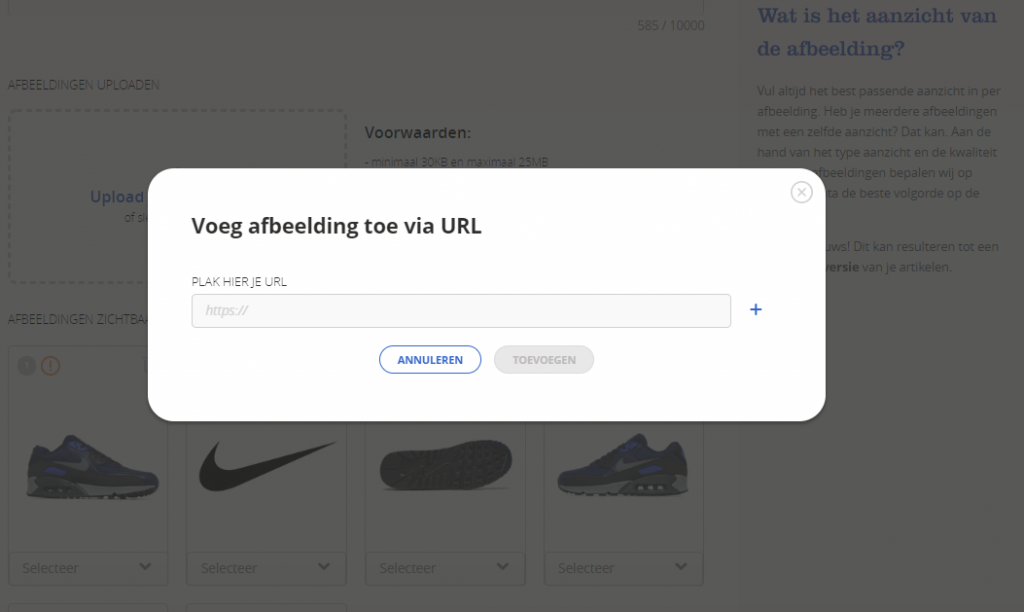
2.2 Add URLs of images:
Do you have URLs of your product images? Then choose ‘Add image via URL’.
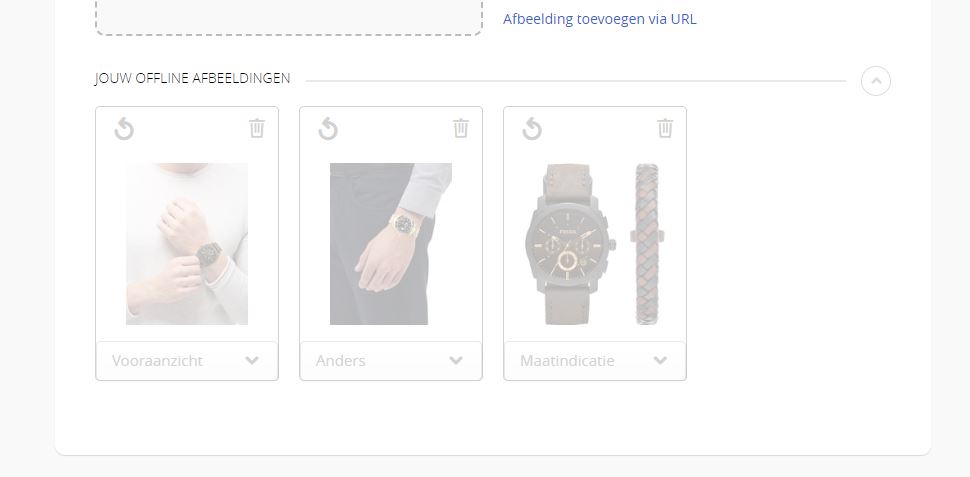
3. Select the appearance of the images
Then enter the most appropriate appearance for each image. In this way, the system automatically puts the images in the right order. This order is determined on the basis of quality and Customer data. Do you have several images with the same appearance? That is possible. You can choose the same appearance several times. All unique images will be placed online. Click on ‘Save changes’ to add the images.

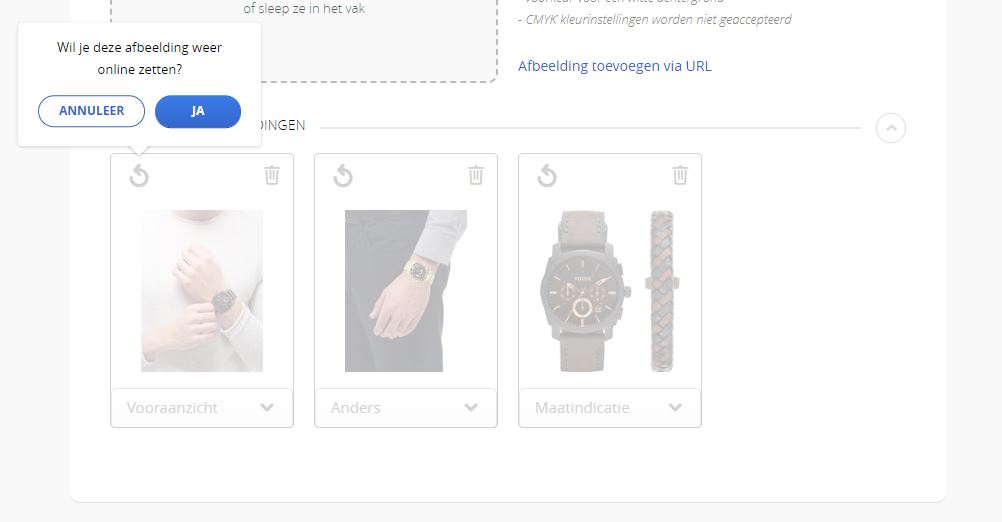
4. Changing or taking images offline
If you want to change the appearance because it is incorrect, you can select and save a new appearance at any time. If an image is completely incorrect, or you have added the same appearance but better quality, you can take the bad photo offline by clicking on the recycle bin. Click on ‘Save changes’.
5. Your offline images
If you want to change the appearance because it is incorrect, you can select and save a new appearance at any time. If an image is completely incorrect, or you have added the same appearance but better quality, you can take the bad photo offline by clicking on the recycle bin. Click on ‘Save changes’.
6. And then... please wait!
The additions or changes are processed within 8 hours and are then visible via bol.com.